Cleaning your carpet cleaner brush is a simple and essential step that many people overlook. However, a dirty, clogged brush can result in poor cleaning performance, which can cause staining of the carpet and be less effective at removing dirt from the fibers.
Usually, the brush is mounted on a separate head to remove the meeting from the primary cleaning unit. As well, when you place these sections in your washer, they allow for a much more thorough clean than just using the garbage disposal method.
Ensure that the brush is arid before placing it back inside your carpet cleaning unit. It’s important to note that this brush is not meant for use on stairs or upholstery, only on carpets. In this article, I’ll show you step-by-step instructions on how to clean bissell carpet cleaner brush.
Step to Follow on How to Clean Bissell Carpet Cleaner Brush
Step One: Determine
First, you must determine how dirty your brush is. We will choose that it’s pretty bad for this article, but not disgustingly so. Next, you’ll want to take a look at your nozzle to see if any debris has gotten caked in there as well. If it has, it’s best to take care of that before you start cleaning the brush.
If your brush is in good condition, clean it by running water through it and brushing off debris with a toothbrush or other soft scrubbing brush. You may use dish soap to help clean out the tough stuff, but make sure to rinse it all off before continuing.
If your brush is not in good condition, you’ll need to take it apart. For this, you will need a screwdriver. There are three screws on the bottom of the brush; remove them, and the top part of the brush will come off, exposing the bristles. You can cut the bad pieces off with scissors and continue brushing them off or replacing your brush entirely.
Step Two: Clean the Nozzle
Once you have cleaned your brush, it’s time to clean the nozzle. The nozzle is where all of the dirt and debris from your carpets accumulates, so it’s essential to clean it regularly. The easiest way to clean the nozzle is by using a can of compressed air.
If you don’t have compressed air, you can take your nozzle over to your sink and scrub away at the gunk using a stiff brush or an old toothbrush. Then use water and dish soap to wash it all out. The drawback to this method is that it doesn’t get rid of hair as well as compressed air.
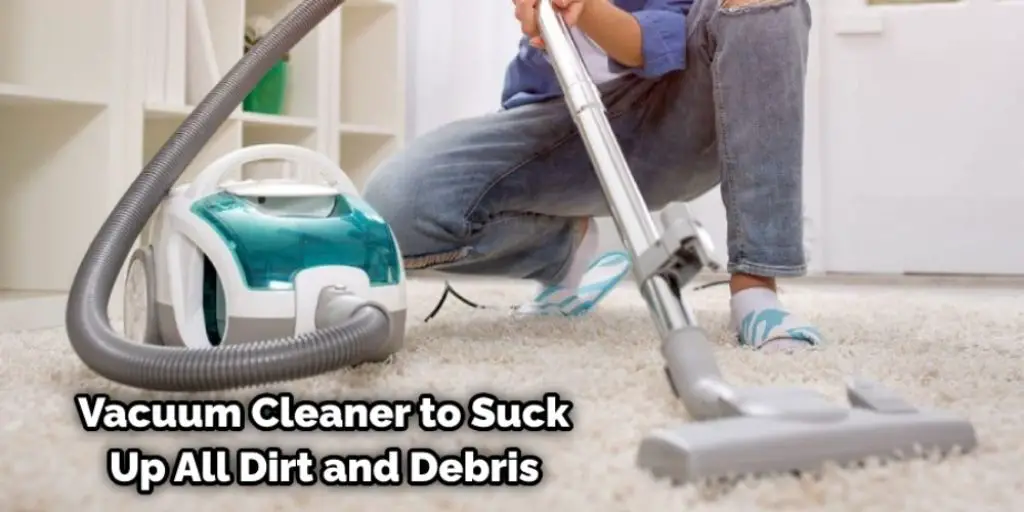
It’s also a good idea to clean the area around the nozzle. This can be done by using a vacuum cleaner to suck up all dirt and debris. If you have a crevice tool, use it to get into all tight spaces. Once you have finished cleaning your brush and nozzle, you’re ready to move on to the next step.
Step Three: Clean With Vinegar
Now it’s time to clean your machine. The best way to do this is by using vinegar. Pour white vinegar into a spray bottle and spray it onto all of the surfaces of your machine, including the brushes. Let it sit for about five minutes, then rinse everything off with water.
You can also use vinegar to clean the area around your machine. For example, use it to wipe down the outside of your canister, as well as areas where you’ve used it on your carpets. This cleaning method alone will not be enough to clean all of the dirt off your machine, so you may have to repeat this step a couple of times before you are done.
If some gunk isn’t coming off your machine, you can try a more robust method. First, mix water and ammonia to create a solution that will break up the grime on your machine. Then, dip a cloth into the solution and scrub away at any tough spots.
Step Four: Clean With Bleach
Now that you’ve finished cleaning your machine, it’s time to clean the brushes. The best way to do this is to soak them in a bleach and water solution for an hour or two. Since bleach can be toxic, make sure you wear gloves while doing this step.
Once the brushes have soaked for a couple of hours, remove them from the solution and brush them off. You can also use a toothbrush to get into all nooks and crannies. If there is still some grime on the brushes, you can use a stronger bleach solution.
You can also use a steam cleaner to clean your brushes if you have a steam cleaner. Just fill the water tank with white vinegar and steam all of the surfaces of your machine. This will help loosen any dirt or grime stuck on your machine.
Step Five: Finish Up
Once you have cleaned your machine and brushes, it’s time to put everything back together. First, put the top half of your brush on, then screw in the three screws on the bottom of it. Do not force anything into place if it isn’t going easily. If a part seems stuck, try working some dish soap into that area first.
Once you have finished putting your brush back together, it’s time to clean out the nozzle. To do this, use a thin object like a credit card or something similar to scrape out any debris that is in there. This should make the vacuuming process go much more smoothly in the future.
Now you can put your machine back together. Fill the water tank with hot water and a little bit of dish soap, then press the trigger to clean out your machine. Once you have finished this, you’re all done! Before working on your carpets again, make sure that they are scorched not to cause any problems.
Step Six: Maintain
If you take proper care of your machine, it should last for a very long time. First, make sure to store your machine in an area that isn’t exposed to harsh elements like the sun or high heat. Never leave your machine out in the rain and keep it out of reach of children and pets when you aren’t using it.
In addition, make sure to clean your brushes every time you use them and occasionally clean out the machine as well. This will ensure that everything is working as it should and prevent any gunk from building up inside. Finally, to keep your brushes in tip-top shape for a long time, always be sure to let them dry completely before putting them back on your machine.
When you put them back on, make sure that they don’t bump into each other when you close the lid. If this happens, it can cause damage and also render them ineffective in future cleanings. However, if you follow these simple steps, your Bissell machine should continue to work great for a long time!
You can check it to Match Carpet Color for Repair
Conclusion
It is important to clean your Bissell carpet cleaner brush regularly. This will ensure that it stays in good condition and doesn’t get clogged up with hair, dirt, or other debris from your carpets. You need a small bucket of water and some dish soap to do this.
Grab the bristles on the end of the cleaner head and twist them back onto themselves until they point downward into the soapy water bucket at about a 45-degree angle. The conclusion paragraph is informative and provides information on how to clean bissell carpet cleaner brushes.
Check it out also – How to Clean Carpet Cleaner Brushes


